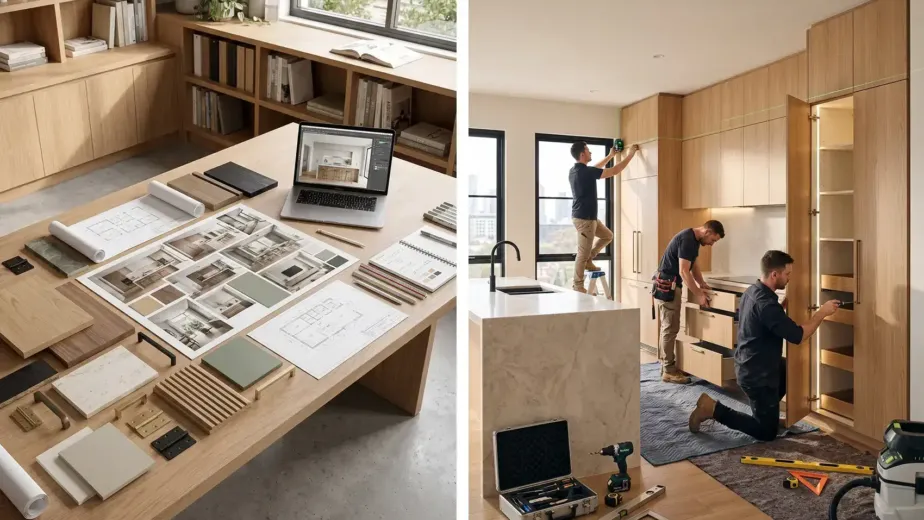

A successful cabinetry project requires more than an attractive concept. It requires the designer’s creative direction to be translated into accurate dimensions, suitable materials, functional hardware and manufacturing-ready details.
For Melbourne design studios, selecting an experienced joinery partner early can reduce design revisions, prevent manufacturing assumptions and create a more controlled path from the initial sketch to installation.
What Interior Designer and Joiner Collaboration Involves
The interior designer may provide:
- The design concept and intended visual character
- Floor plans, elevations and cabinetry layouts
- Moodboards, renders and reference images
- Colour, material and finish selections
- Functional and storage requirements
- Appliance, lighting and service information
- Client preferences and project priorities
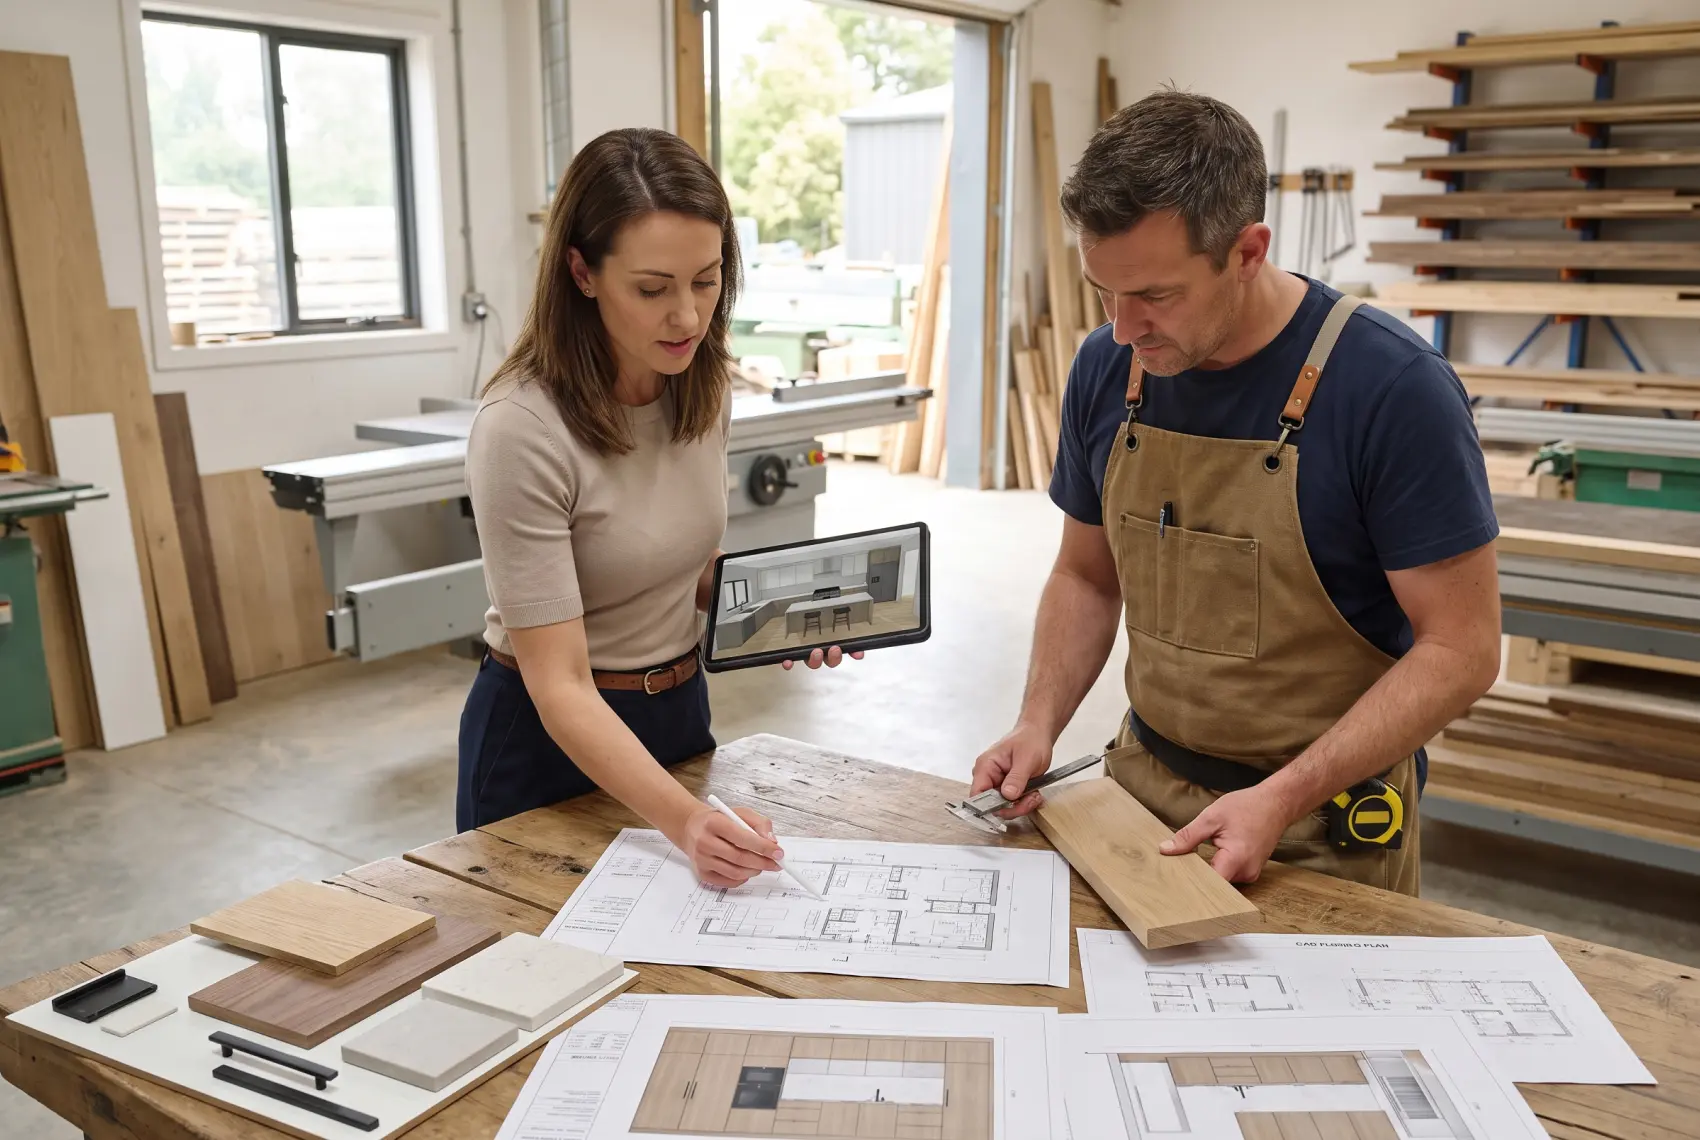
The joiner then interprets this information from a manufacturing perspective. This may include reviewing dimensions, confirming construction methods, checking material suitability, detailing hardware and preparing cabinetry shop drawings.
Neither party replaces the other. The designer remains responsible for the design intent and relevant design coordination, while the joiner contributes manufacturing knowledge and technical detailing within the agreed scope.
Joinery for Interior Designers Melbourne: The Collaboration Process
The following step-by-step process shows how joinery for interior designers Melbourne projects can progress from early ideas to completed cabinetry.
Step 1: Establish the Interior Concept
The process starts with an understanding of the room, the client and the intended experience.
The interior designer considers how the cabinetry should relate to the surrounding architecture, flooring, lighting, furniture and finishes. At this stage, the cabinetry may be expressed through sketches, preliminary elevations, moodboards or rendered views.
These documents communicate the design direction but are not necessarily suitable for production. For example, a render may show the required proportions and finish, but it might not confirm panel thicknesses, door clearances, fixing methods or internal cabinet construction.
The designer should identify:
- What the cabinetry must store or support
- Which elements should be concealed or displayed
- Whether appliances or services must be integrated
- The required visual lines and proportions
- Preferred materials, colours and textures
- Important architectural details that must be retained
- Any accessibility or user-specific requirements
This initial information gives the joiner a clear design foundation without prematurely limiting the construction solution.
Step 2: Involve the Joiner Before the Design Is Fully Locked
A joiner should ideally become involved once the design direction is clear but before every technical detail has been finalised.
Early consultation allows manufacturing advice to inform the design while changes are still manageable. The joiner can identify issues that may affect cost, appearance, fabrication or installation.
For example, the joiner may advise on:
- Whether the proposed material is suitable for the application
- How door sizes may affect movement or long-term performance
- Whether a handleless detail requires additional clearance
- How cabinetry can meet an uneven wall or ceiling
- Where fillers, shadow lines or scribes may be required
- How integrated lighting can be accommodated
- Whether hardware will fit within the proposed cabinet depth
- How large components can be transported into the building
This stage is particularly important for apartments, renovations and older Melbourne properties, where actual site conditions may differ from the original drawings.
Early input does not restrict the designer’s creativity. It helps the design develop within realistic technical parameters.
Step 3: Prepare a Clear Joinery Design Package
Before technical development begins, the design studio should issue an organised package of information. The objective is to create one reliable reference point for the project.
A useful design package may include:
- Dimensioned plans and elevations
- Room and cabinetry references
- Sections through important details
- Material and finish schedules
- Hardware preferences
- Appliance specifications
- Electrical and plumbing requirements
- Lighting intent
- Reference images for special profiles or details
- Notes identifying critical design features
- The latest architectural and consultant drawings
Revision numbers and issue dates should be clearly displayed. If multiple versions are shared through separate emails, there is a greater risk that outdated information will be used.
An organised brief is especially valuable when producing custom cabinetry from designer plans, because small discrepancies between drawings can affect several manufactured components.
Step 4: Complete Site Verification and Coordination
Design drawings usually describe the intended space. Manufacturing must respond to the space that actually exists.
Depending on the project scope and programme, site verification may take place before shop drawings are completed or after relevant construction work has reached a measurable stage. The team should agree who is responsible for measuring and when dimensions will be confirmed.
Items that may require verification include:
- Wall lengths and heights
- Floor levels
- Ceiling variations
- Corners that are not square
- Window and door positions
- Skirting boards and architraves
- Existing services
- Power outlet locations
- Plumbing points
- Appliance dimensions
- Structural columns or bulkheads
- Access routes for delivery and installation
Where final site measurements cannot yet be taken, the drawings should clearly identify which dimensions remain subject to verification. Cabinetry should not enter production based on unresolved assumptions.
The designer, builder and joiner may also need to coordinate interfaces with stone, glazing, electrical work, plumbing, flooring and wall finishes.
Step 5: Translate the Concept into Cabinetry Shop Drawings
Shop drawings form the technical bridge between the creative design and the manufacturing floor.
They expand the design information into detailed views showing how the cabinetry is proposed to be constructed and installed. The precise content will depend on the project, the joiner’s scope and the documentation available.
Cabinetry shop drawings may show:
- Overall cabinet dimensions
- Individual cabinet modules
- Door and drawer configurations
- Internal shelves and storage components
- Panel and substrate thicknesses
- Finished materials and edge details
- Hardware positions
- Handle or finger-pull details
- Appliance openings and ventilation provisions
- Service penetrations
- Lighting channels or profiles
- Junctions with walls, floors and ceilings
- Fixing or installation considerations
- Fillers, scribes and shadow lines
The shop drawings should not silently change the design. If a manufacturing requirement affects the appearance, dimensions or functionality, it should be raised with the designer for review.
Designer Joinery Melbourne: Concept Drawings vs Shop Drawings
Although both document sets describe the same cabinetry, they serve different purposes.
| Concept or Design Drawings | Cabinetry Shop Drawings |
|---|---|
| Communicate the visual idea | Explain the proposed construction |
| Establish form and proportions | Confirm dimensions and components |
| Show material and finish intent | Detail materials, edges and hardware |
| Coordinate cabinetry with the interior | Coordinate cabinetry with manufacturing and installation |
| May contain indicative details | Should identify production-relevant details |
| Issued by the design team | Commonly prepared by the joiner or specialist detailer within the agreed scope |
The strongest designer joinery Melbourne projects use both forms of documentation together.
Step 6: Review Samples, Finishes and Hardware
Digital selections can appear different once manufactured. Before approval, the designer should review physical samples where appropriate and available.
This may include:
- Decorative board or laminate samples
- Timber veneer samples
- Painted or two-pack finish samples
- Edge treatments
- Handles and pulls
- Hinges, runners and lift systems
- Feature profiles
- Metal finishes
- Lighting colour and diffuser details
Natural materials such as timber and veneer can vary in colour and grain. If grain direction, matching or sequencing is important, that requirement should be documented rather than assumed.
The hardware review should consider more than appearance. Hinges, runners and internal fittings affect cabinet dimensions, door movement, access and daily usability. A selected handle may also require a particular fixing position or minimum door width.
Step 7: Complete a Formal Design Approval
The approval stage should be treated as a production gateway, not as a casual email exchange.
The interior designer reviews the shop drawings against the intended design. The builder or project manager may review coordination, programme and site interfaces. The client may also need to approve visible finishes or functional arrangements, depending on the agreed process.
Review comments should be consolidated into one marked-up set. Conflicting instructions from different stakeholders can delay the project and introduce mistakes.
A clear approval should confirm:
- The drawing revision being approved
- Approved materials and finishes
- Approved visible details
- Hardware selections
- Appliance information
- Confirmed site dimensions
- Any approved qualifications or exclusions
- Items still requiring information
- The person authorised to release manufacturing
The joiner should manufacture only from the formally approved revision. Changes after approval may affect cost, material orders and delivery timing, so they should be documented through an agreed variation process.
Step 8: Begin the Joinery Manufacturing Process
Once the design, dimensions, materials and shop drawings are approved, the joinery manufacturing process can begin.
Production may include material procurement, panel optimisation, machining, edge finishing, cabinet assembly, hardware preparation and quality checking. The exact sequence depends on the materials, complexity and scale of the project.
During this stage, the joiner should work from controlled production information. Informal instructions or unrecorded site conversations should not replace the approved documents.
Quality checks may review:
- Component dimensions
- Material and finish references
- Edge treatment
- Drilling and hardware positions
- Door and drawer alignment
- Visible surface condition
- Assembly quality
- Labelling for delivery or installation
If a technical issue is identified during manufacturing, it should be communicated before an unapproved design change is made.
Step 9: Coordinate Delivery and Installation
Well-made cabinetry still requires suitable site conditions and careful installation.
Before delivery, the responsible parties should confirm that:
- The installation area is accessible
- Relevant wet works are sufficiently complete
- Floors and walls are ready where required
- Services are in their coordinated positions
- Finished surfaces are protected
- Other trades will not obstruct installation
- Delivery access and building requirements are confirmed
- Stone, glazing and appliance sequencing is understood
During installation, cabinets are positioned, levelled, fixed and adjusted to suit the verified space. Scribes, fillers and junction details help the cabinetry meet walls, floors and ceilings neatly.
The designer may inspect the installation to check that important lines, materials and details remain consistent with the approved concept.
Step 10: Inspect, Adjust and Close Out the Project
After installation, the project should be inspected systematically rather than judged only from a distance.
The final review may include:
- Door and drawer alignment
- Hardware operation
- Gaps and shadow lines
- Junctions with adjoining finishes
- Surface condition
- Handle placement
- Internal fittings
- Lighting operation
- Appliance clearance
- Completion of agreed adjustments
Any issues should be recorded in a single defects or completion list, with responsibility and timing assigned. Operating or care information should also be provided where relevant to the selected materials and hardware.
The Five Critical Handoffs in an Interior Designer and Joiner Collaboration
The quality of the finished cabinetry often depends on the information exchanged at these five points:
- Concept handoff: The designer explains the visual direction, functionality and non-negotiable details.
- Technical handoff: The joiner converts the concept into measurable and manufacturable information.
- Approval handoff: The authorised parties approve one controlled drawing revision.
- Production handoff: The approved information is released to manufacturing without unresolved selections.
- Installation handoff: The site, access and trade interfaces are ready for the cabinetry.
Treating each handoff as a formal checkpoint makes accountability clearer and reduces reliance on assumptions.
Common Collaboration Problems and How to Prevent Them
The joiner is engaged too late
A design may be visually resolved before construction feasibility, hardware restrictions or site access have been considered.
Prevention: Request technical input before all cabinetry details are locked.
A render is treated as a manufacturing document
Renders communicate appearance but may not contain accurate internal dimensions or construction details.
Prevention: Issue dimensioned drawings and obtain approved shop drawings.
Material names are too general
Descriptions such as “oak finish” or “white laminate” can refer to many different products.
Prevention: Record the supplier, collection, colour, finish and reference code where available.
Several people issue separate instructions
Conflicting comments can result in unclear responsibilities and outdated revisions.
Prevention: Nominate an authorised contact and consolidate review comments.
Site dimensions are assumed
Small variations in walls, floors and ceilings can affect the fit of full-height or wall-to-wall cabinetry.
Prevention: Define a site verification stage before manufacturing release.
Changes are requested during production
Late changes may require new materials, machining or revised components.
Prevention: Complete the design and approval checks before releasing the work for manufacture.
Why Design Studios Need a Specialist Joinery Partner
A reliable joinery partner contributes more than fabrication. The right team understands how to protect a design idea while resolving the details required to build it.
With more than 40 years of craftsmanship experience, Sagar Cabinets works from Dandenong South and supports Melbourne design professionals through technical development, manufacturing and installation coordination.
Design studios can involve the team during the early planning stage or once a coordinated cabinetry package is ready for review.
Frequently Asked Questions
How do interior designers work with joiners?
- Interior designers establish the creative direction, layout, finish intent and functional requirements. Joiners review how the cabinetry can be constructed, prepare or coordinate technical details, manufacture the components and complete the agreed installation scope. Regular communication and controlled drawing revisions keep both sides aligned.
When should a joiner become involved in an interior project?
- A joiner should generally become involved after the main design direction has been established but before all cabinetry details are finalised. Early involvement provides time to review material suitability, hardware, dimensions, construction methods, site access and budget implications.
Who prepares cabinetry shop drawings?
- Cabinetry shop drawings are commonly prepared by the joiner or a specialist detailer as part of the agreed project scope. The interior designer reviews them against the design intent, while other project parties may need to review dimensions, services and construction interfaces. Responsibility should be confirmed at the start of the project.
How is a cabinetry design approved before manufacturing?
- The latest shop drawings, finish selections, hardware and relevant site dimensions should be reviewed by the authorised parties. Comments are incorporated into a revised document set, and written approval is issued for a specific revision. Manufacturing should not begin while important selections or dimensions remain unresolved.
How can designers ensure joinery matches their concept?
- Designers should provide clear drawings, finish references, samples and notes identifying critical details. They should also review shop drawings carefully, consolidate comments, approve physical samples where appropriate and inspect key details during installation. A joiner should raise technical changes for approval instead of making visual substitutions without consultation.
Bring Your Cabinetry Concept into Production
Great custom cabinetry is created when design intent and manufacturing knowledge remain connected from the beginning.
Sagar Cabinets partners with Melbourne interior designers to turn concepts, sketches and moodboards into carefully manufactured cabinetry. Whether the project includes a kitchen, vanity, wardrobe, study, living-room unit or another built-in feature, the team can assist with technical coordination, finish selection and precise execution.
Contact Sagar Cabinets to discuss your designer joinery project or arrange a visit to the Dandenong South showroom.
Address: 28 Rhur Street, Dandenong South VIC 3175
Phone: 0451 508 110
Email: info@sagarcabinets.com.au