
Ordering cut-to-size cabinet panels can make a cabinetry project faster and more predictable, but the result is only as accurate as the information supplied. Before a sheet reaches a CNC machine, the manufacturer needs confirmed dimensions, material and colour references, grain direction, finished-edge instructions, machining details and an approved file or cutting list.
This guide explains how to prepare an order for cut-to-size cabinetry in Melbourne. It is designed for trade professionals and capable DIY clients who want custom cabinet components manufactured accurately and supplied ready for the next stage of assembly or installation. Because production systems differ, confirm the supplier’s current template, accepted file formats and measurement conventions before submitting a live order.
The Short Answer: What a Complete Order Includes
- A unique project name, contact details, required date and delivery or collection instructions.
- A clearly labelled part list showing quantity, length, width, thickness and material for every panel.
- Confirmed decorative face, grain direction and board colour or product code.
- Edge-banding instructions for each individual edge, including colour and thickness where relevant.
- Machining details for hinge cups, shelf pins, connectors, handle profiles, cut-outs or other hardware.
- An approved drawing, cutting list or digital file that matches the manufacturer’s submission requirements.
Step 1 - Define the Scope Before Measuring
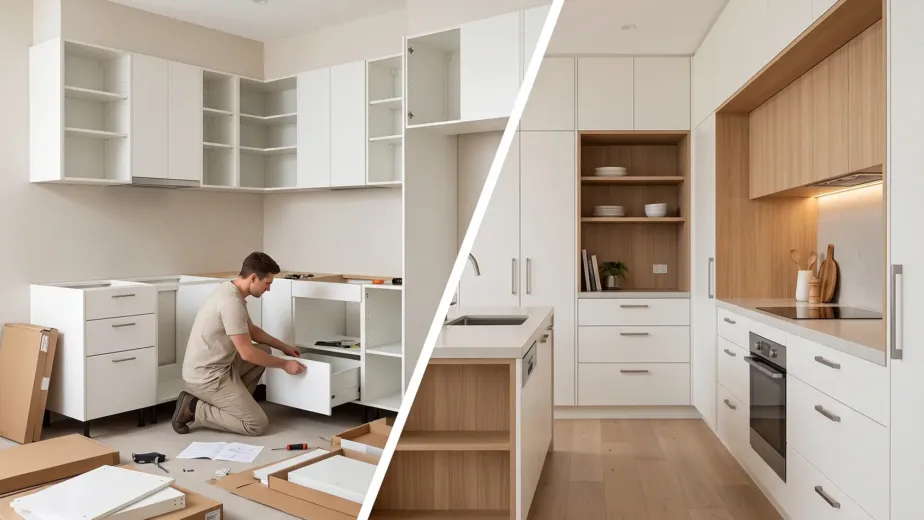
Start by deciding exactly what you want the manufacturer to supply. A cut-only order is different from a component package that includes edge banding, drilling, routing, labelling or flat-pack preparation. If the scope is unclear, two people can read the same dimension and assume different finished outcomes.
List the room or cabinet group, the number of units and whether the order covers carcasses, doors, drawer fronts, shelves, end panels, kickboards, fillers or feature pieces. Identify any components supplied by other trades, such as stone benchtops, appliances, sinks or metal frames, because their clearances may affect the panel sizes.
Step 2 - Record Accurate Cabinet Panel Measurements
All cabinet panel measurements should use one unit consistently—millimetres are standard practice in Australian cabinetry documentation. Write the dimension order at the top of the cutting list, such as length × width × thickness, and do not rely on the reader to infer orientation.
| Field | What to Specify | Why it Matters |
|---|---|---|
| Part ID | A unique code for every component type | Prevents similar panels being confused |
| Quantity | The number of identical pieces | Supports nesting, pricing and labelling |
| Length × Width | Finished dimensions in millimetres | Defines the CNC cut size |
| Thickness | Actual nominated board thickness | Affects hardware, joints and clearances |
| Orientation | Face, grain and top/bottom direction | Keeps visible finishes consistent |
| Edges | Banding or finishing on L/R/T/B edges | Avoids exposed substrate and wrong sizes |
Measurement Checks That Prevent Errors
- Measure the site at several points where walls, floors or ceilings may be out of square.
- Separate site dimensions from manufactured panel dimensions; they are not always the same.
- Allow for scribes, fillers, shadow lines, reveals, door gaps and installation tolerances in the design.
- Confirm whether edge thickness is included in the submitted finished size or handled by the supplier’s production rules.
- Check appliance and hardware specifications against the latest manufacturer documentation.
- Have a second competent person review the cutting list before approval.
Step 3 - Choose the Right Material and Finish
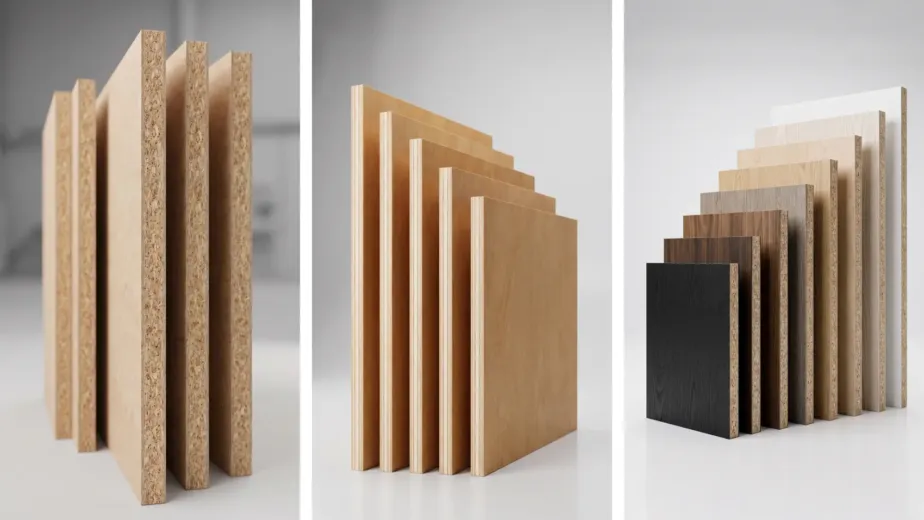
Material selection affects appearance, machining, moisture performance, weight, cost and hardware compatibility. Do not describe a board only as ‘white MDF’ or ‘woodgrain’. Supply the manufacturer, range, colour or décor code, finish, thickness and decorative-face requirements wherever possible.
| Material | Common Uses | Ordering Notes |
|---|---|---|
| Melamine-faced Particleboard | Carcasses, shelves and economical interiors | Specify décor, finish, thickness and visible faces |
| MDF | Painted fronts, routed profiles and feature panels | Nominate standard or moisture-resistant grade where suitable |
| Plywood | Exposed-edge details and selected structural applications | Confirm veneer, face grade, core and grain direction |
| Decorative Panels or Laminates | Doors, end panels and design features | Use exact product codes and approved samples |
Step 4 - Specify Edge Banding Edge by Edge
Edge banding should be part of the order rather than an assumption. Mark every panel edge using a consistent convention for example L1, L2, W1 and W2, or left, right, top and bottom when viewed from the nominated face. State which edges remain raw because they form a joint or will be concealed.
Include the edge material, colour and thickness when these influence the design. Visible doors and end panels may require a different edge treatment from internal carcass parts. If the board has a directional pattern, a diagram showing the decorative face and orientation is safer than text alone.
Step 5 - Add Machining and Hardware Information
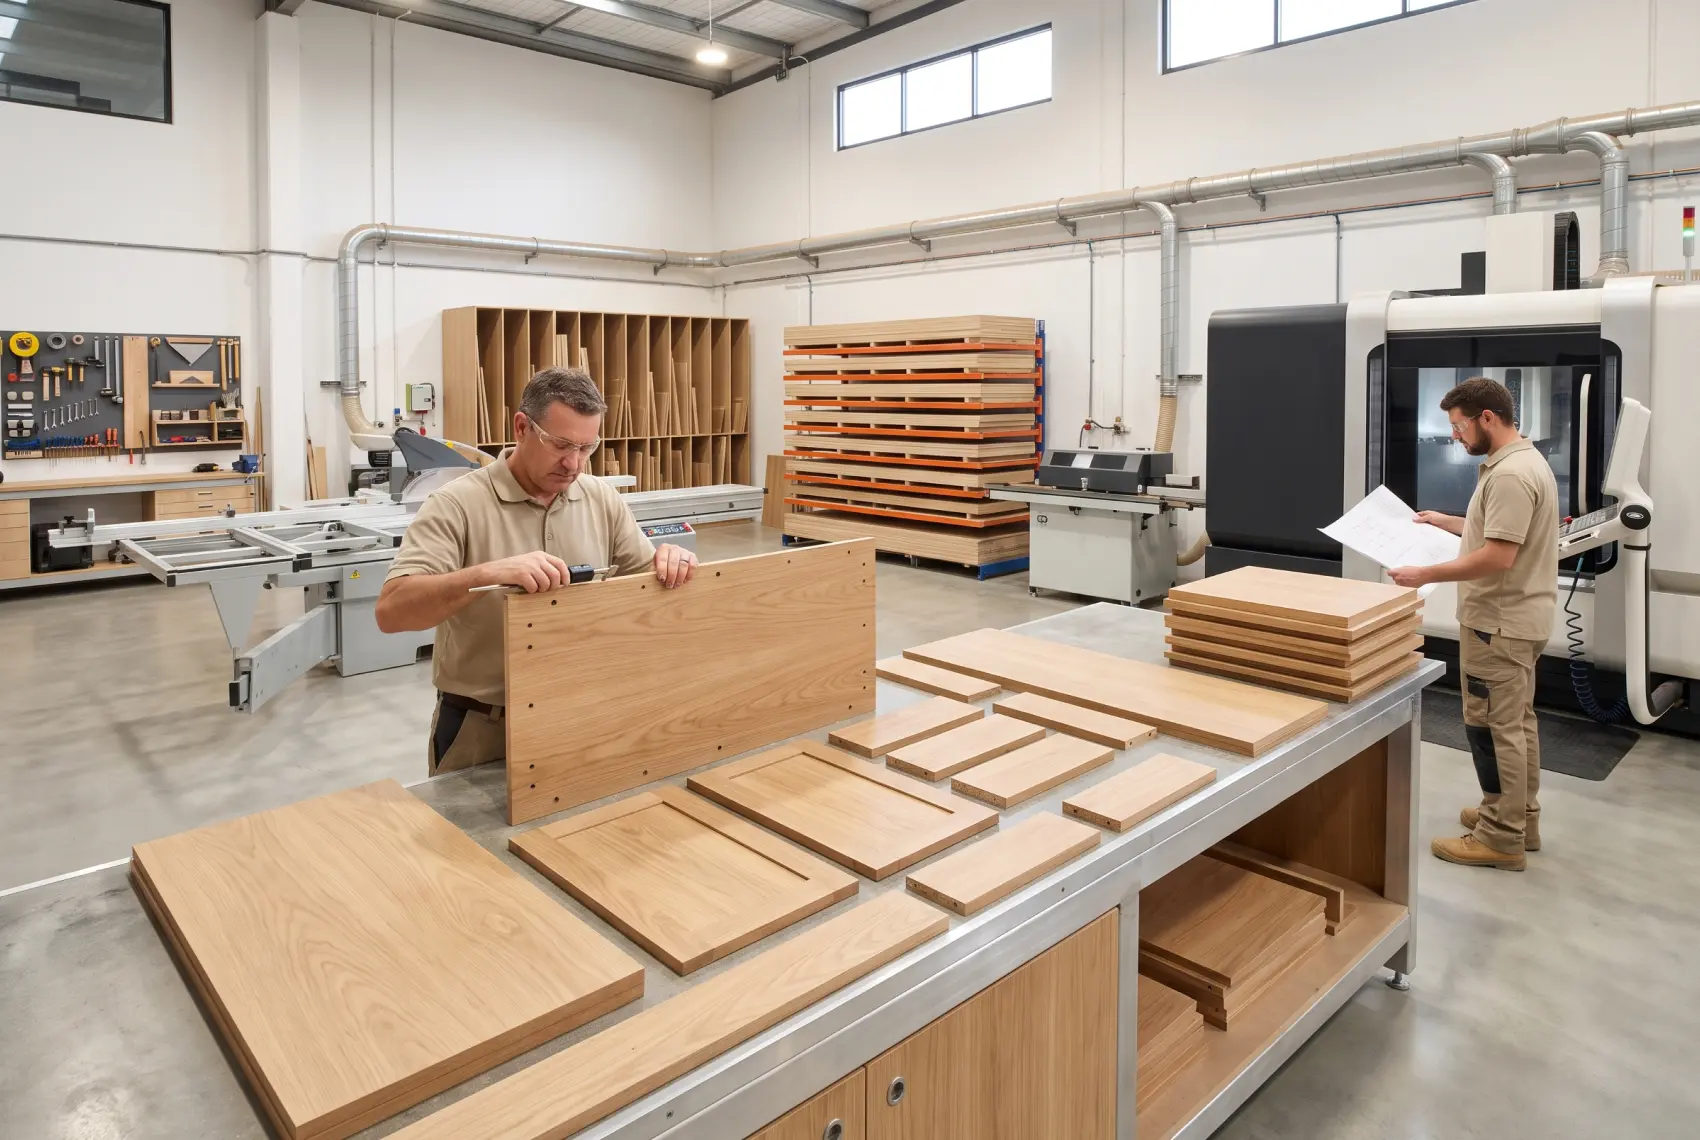
CNC cutting services in Melbourne can do more than produce rectangles, but every machining operation must be documented. Identify hinge brand and model, hinge-cup diameter and setback, drawer-runner system, shelf-pin pattern, connector type, handle or finger-pull profile, service penetrations and any rebates, grooves or notches.
Where hardware templates govern drilling positions, provide the current technical sheet or agreed library reference. For handed parts, clearly identify left and right components and the viewed face. Ambiguous mirrored parts are a common source of wasted material.
Step 6 - Prepare Files for CNC Cutting Services Melbourne
Accepted file formats vary by manufacturer and software. Some orders can be entered from an approved spreadsheet template; others require CAD, DXF or production-ready cabinet software data. A PDF is useful for human review but may not contain machine-ready geometry. Always ask the supplier which file types, versions, layers, units and naming conventions they accept before final submission.
- Use millimetres and draw geometry at full size unless instructed otherwise.
- Remove duplicate lines, open contours and unrelated construction information.
- Name files and parts consistently so drawings, lists and labels correspond.
- Show grain or décor direction and nominate the visible face.
- Keep revision numbers and issue dates on every controlled document.
- Include a readable PDF reference even when native data is supplied, if the manufacturer requests one.
A Practical Cabinet Cutting List Example
| ID | Qty | L | W | T | Material | Edges / Notes |
|---|---|---|---|---|---|---|
| B01-S | 2 | 720 | 560 | 16 | White melamine | Front edge banded |
| B01-B | 1 | 568 | 560 | 16 | White melamine | No banding |
| B01-SH | 2 | 566 | 535 | 16 | White melamine | Front edge; shelf pins |
| B01-DR | 2 | 716 | 297 | 18 | Decorative MDF | All edges; grain vertical |
This is only an illustrative format. Your supplier may use different field names or calculate some production details within its own system. The controlling point is that every part can be uniquely identified and manufactured without guessing.
Submission Checklist Before You Place the Order
- Project name, contact details and current revision are shown on every document.
- All dimensions are in millimetres and follow one stated dimension order.
- Quantities and part IDs match across drawings, cutting lists and digital files.
- Material, thickness, colour, finish and decorative face are confirmed.
- Grain direction and panel orientation are shown where applicable.
- Every edge has a clear banding or raw-edge instruction.
- Drilling, routing, cut-outs and hardware references are fully documented.
- Delivery, collection, labelling and packaging needs are stated.
- A final internal check has been completed before production approval.
Common Ordering Mistakes to Avoid
The most frequent problems are not complex; they are missing or conflicting instructions. Avoid mixing centimetres and millimetres, reversing length and width, omitting grain direction, using informal colour descriptions, approving an outdated revision or assuming the manufacturer will decide which edges are visible.
Also avoid sending a room sketch as though it were a production cutting list. A design drawing communicates intent; a manufacturing submission must resolve individual panel sizes and processing. If you need the supplier to develop production information from your design, make that scope explicit and allow time for review and approval.
Ordering Cut-to-Size Cabinetry Through Sagar Cabinets
Sagar Cabinets provides cut-to-size and flat-pack joinery support for builders, carpenters and DIY clients from Dandenong South. Services shown on the company website include CNC cutting, edge banding and material supply across options such as MDF, plywood and melamine, subject to project requirements and availability.
For the most efficient quotation, send a clear project brief and ask the team to confirm its current order template, accepted file formats, lead time and inclusions. Early clarification helps turn custom cabinet components into an organised package that is easier to check, assemble and install.
Frequently Asked Questions
What measurements are needed for cut-to-size cabinetry?
- For each component, provide a part ID, quantity, finished length, finished width, thickness, material, visible face, grain direction and edge-banding instructions. Add machining dimensions for holes, grooves, rebates and cut-outs. State the dimension order and use millimetres consistently.
What files do CNC cabinet cutters accept?
- File requirements vary by manufacturer. Common workflows may use spreadsheets, CAD or DXF files, production software data and PDF reference drawings. Confirm accepted formats, software versions, units and layer conventions before submitting; a PDF alone may not be machine-ready.
How do I prepare a cabinet cutting list?
- Give every part a unique name, then record quantity, dimensions, thickness, material, grain direction, edge treatment and machining notes in consistent columns. Cross-check the list against the design and have another competent person review it before approval.
Should edge banding be included in a cutting order?
- Yes. Specify which edges are banded, which remain raw, and the required colour and thickness. Also confirm whether your submitted measurements represent the final finished size or whether the supplier applies a particular allowance in its production workflow.
Which material should I choose for cut-to-size cabinets?
- The right material depends on the location, finish, load, machining, budget and design intent. Melamine-faced board is common for carcasses, MDF suits many painted or routed details, and plywood is selected for particular structural or exposed-edge applications. Discuss the environment and exact finish with the manufacturer before ordering.
Ready to Submit a Cut-to-Size Request?
SAGAR CABINETS PTY LTD
Address: 28 Rhur Street, Dandenong South VIC 3175
Phone: 0451 508 110
Email: info@sagarcabinets.com.au
Send your project brief, cutting list and material requirements for review.