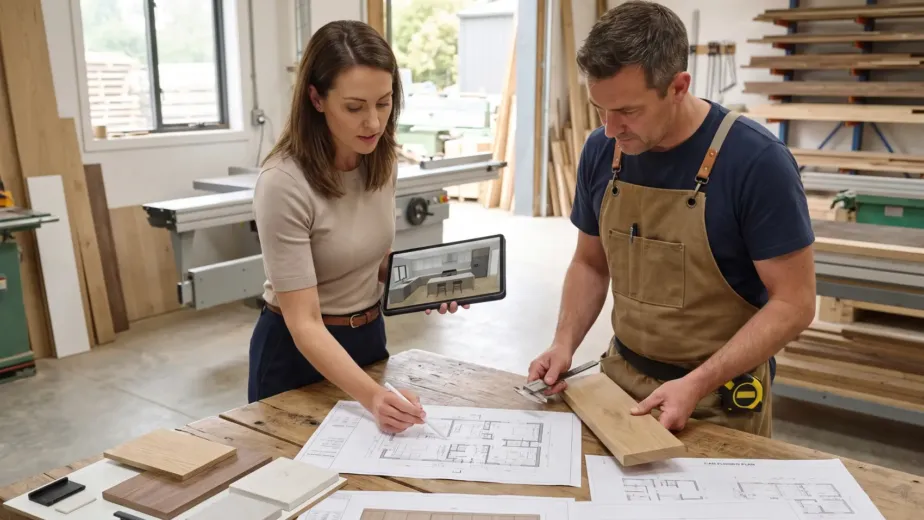

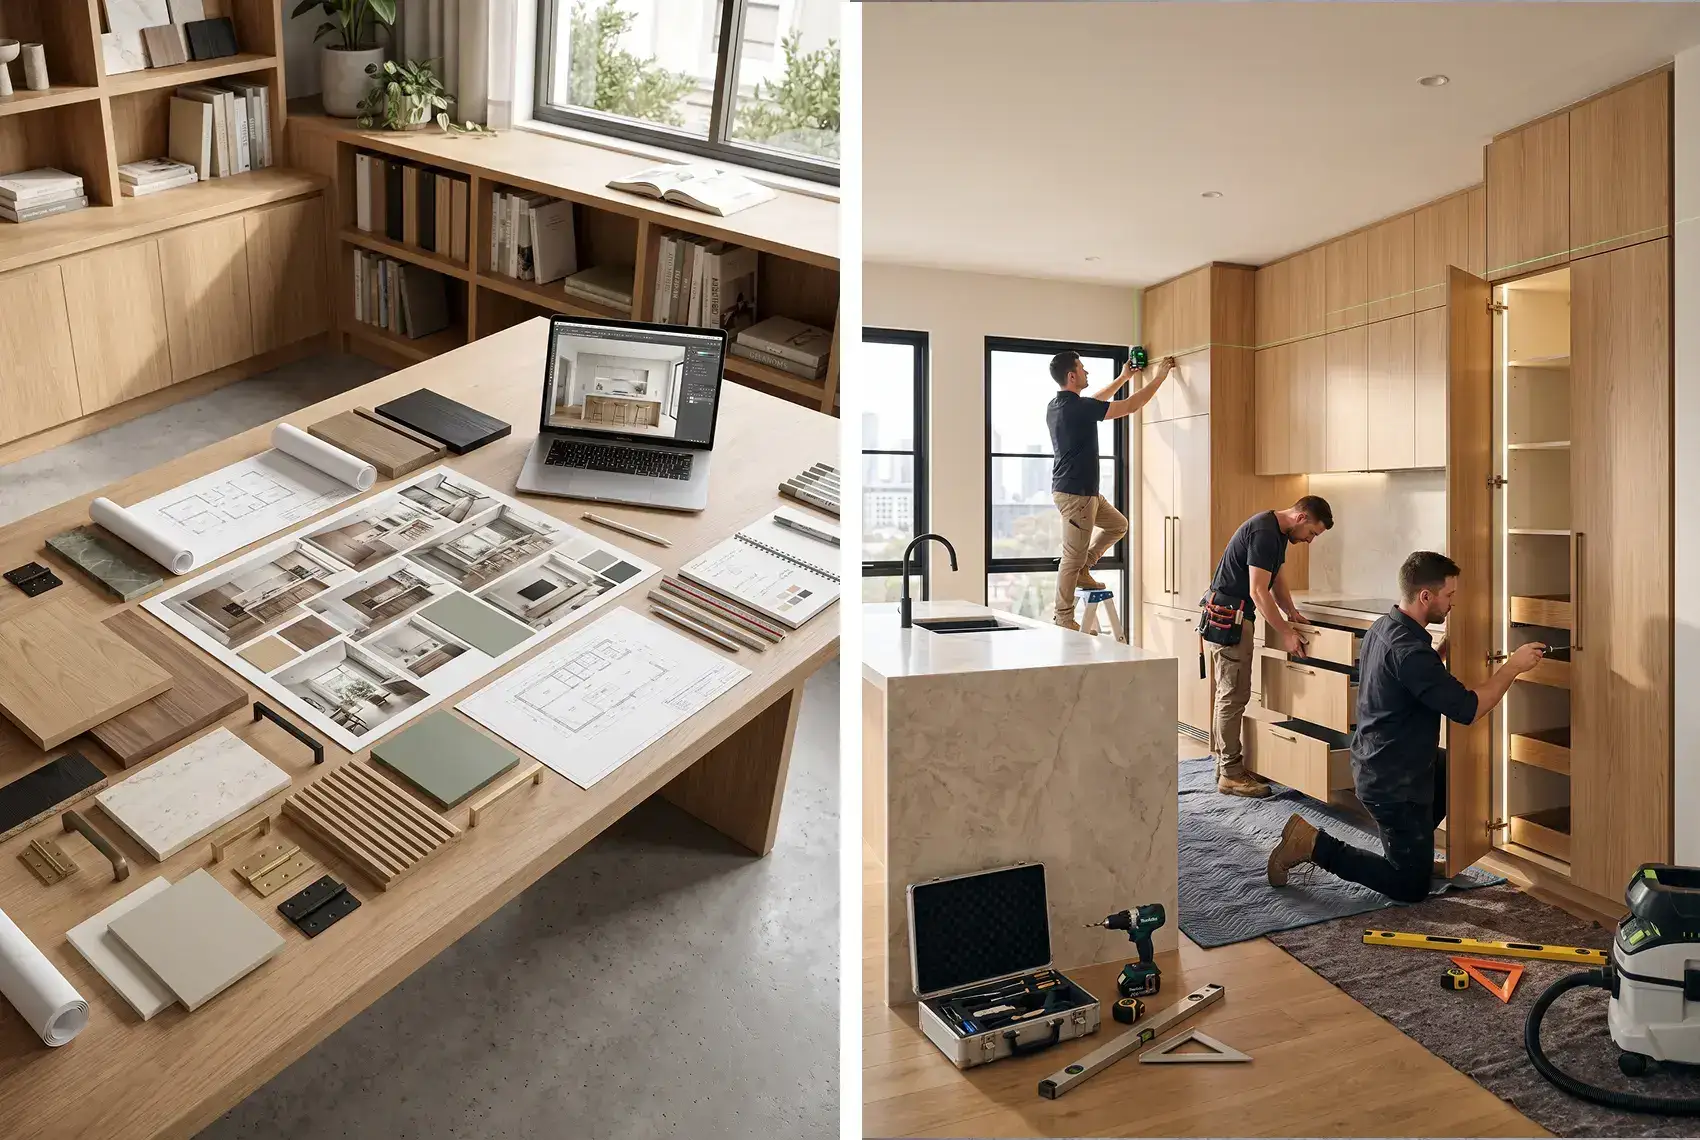
A moodboard can communicate atmosphere beautifully. It may show warm timber tones, soft neutral finishes, slim shadow lines, handleless doors and carefully controlled lighting. However, it does not explain how cabinetry should be constructed, how appliances will fit or how the finished joinery will meet uneven walls.
This is where experienced designer joinery becomes essential.
A skilled joinery partner interprets the designer’s creative direction, resolves the technical details and manufactures cabinetry that belongs within the wider interior. The objective is not simply to build cupboards. It is to preserve the proportions, materials and visual language that made the original concept distinctive.
For Melbourne interior designers, architects and design studios, the journey from moodboard to installed cabinetry involves several approval points. Each one reduces uncertainty before materials are cut and components enter production.
The Designer Joinery Process at a Glance
A complete concept-to-completion journey may include:
- Designer joinery process: Translating moodboards, sketches and design references into a practical manufacturing brief.
- Designer joinery Melbourne: Adapting the concept to the actual dimensions, architectural details and site conditions.
- Joinery material and finish selection: Comparing physical samples, substrates, colours, textures, edge details and hardware.
- Custom cabinetry manufacturing: Producing approved components with consistent dimensions, finishes and construction details.
- Custom joinery installation Melbourne: Coordinating delivery, installation, adjustments and final inspection on site.
Stage One: Reading the Moodboard as a Design Brief
A moodboard is more than a collection of attractive images. It communicates how the room should feel and how each element should relate to the others.
The price may increase when the design includes:
- Dominant and supporting colours
- Timber tones and grain direction
- Curved or rectilinear forms
- Door and drawer proportions
- Handleless or exposed-hardware details
- Matte, satin, gloss or textured surfaces
- Shadow lines and negative space
- Integrated lighting
- Metal finishes
- The level of visual simplicity expected
For example, a designer may specify dark timber cabinetry with thin vertical lines and concealed handles. Achieving that appearance requires decisions about the substrate, surface product, grain matching, edge treatment, door thickness, handle profile and internal hardware.
The moodboard provides the visual destination. The joinery brief begins defining how to reach it.
At this stage, the designer should explain which elements are essential and which are flexible. This helps the joiner suggest practical options without unintentionally changing the character of the concept.
Stage Two: Designer Joinery Melbourne Must Respond to the Site
A compelling design must eventually fit a real building. This is where site information starts shaping the cabinetry.
Melbourne projects can involve newly constructed apartments, period homes, renovated townhouses, luxury residences, hospitality spaces and commercial fit-outs. Each has different dimensional and installation conditions.
Before finalising the joinery, the project team may need to confirm:
- Finished wall, floor and ceiling dimensions
- Whether walls are straight, square and plumb
- Skirting, cornice and architrave details
- Door, window and circulation clearances
- Plumbing, electrical and mechanical services
- Appliance specifications
- Lighting locations
- Access routes for delivery
- Lift dimensions and apartment access restrictions
- Existing architectural elements that must remain visible
A site measurement should happen at the correct point in the construction program. Measuring too early may mean that wall linings, flooring or services are incomplete. Measuring too late may put pressure on manufacturing and installation dates.
The best result comes from allowing the design concept and the measured site conditions to inform each other. If a wall is uneven, for example, the joiner may incorporate a scribe panel rather than changing the visible cabinet proportions.
Stage Three: Joinery Material and Finish Selection
Digital presentations are useful for communicating ideas, but screens do not reliably represent colour, texture, sheen or grain. Physical samples are therefore a critical part of designer joinery.
Effective joinery material and finish selection considers the appearance and performance of every visible surface.
A sample review should address:
- The internal board or substrate
- The visible decorative surface
- Door and drawer-front finish
- Edge-banding colour and thickness
- Timber grain direction and matching
- Handle or profile finish
- Hinges, runners and internal hardware
- Stone or solid-surface interfaces
- Integrated lighting colour temperature
- Adjacent flooring, paint, tile and metal finishes
Material relationships are particularly important. A timber-look board may appear warmer beside cool-grey stone or more textured under direct lighting. A satin surface can also read differently when viewed vertically rather than flat on a sample table.
Where an exact visual result is important, the design team can approve a control sample. This sample becomes the agreed reference during manufacturing and final inspection.
Material selection should also consider the room’s purpose. Bathroom vanities, kitchens, wardrobes and commercial reception counters face different conditions. The selected product must be suitable for the intended application, cleaning requirements and expected use.
Stage Four: Turning the Concept into Shop Drawings
Once the design direction, site dimensions and key materials are understood, the concept can be translated into technical joinery drawings.
Shop drawings bridge the gap between the designer’s creative documents and the information required for manufacturing. They commonly show plans, elevations, sections, dimensions, material references and construction details.
Depending on the project, they may define:
- Cabinet widths, heights and depths
- Door and drawer divisions
- Internal shelving and storage
- Panel thicknesses
- Fillers, scribes and shadow lines
- Handle or handleless profiles
- Hinge and runner locations
- Appliance openings
- Ventilation requirements
- Cable and power access
- Plumbing clearances
- Lighting channels and transformers
- Fixing and support requirements
- Junctions with walls, floors and ceilings
Handleless cabinetry requires particular attention. The visual result depends on consistent reveals, practical finger access and suitable hardware. These details should be resolved in the drawings instead of being improvised during installation.
The designer reviews the shop drawings to confirm that the technical solution still reflects the concept. The joiner checks that the design is manufacturable, functional and suitable for installation.
Manufacturing should proceed only after the required drawings, materials, hardware and samples have received the appropriate approval.
Stage Five: Testing the Details That Carry the Design
Not every project requires a full prototype. However, selected mock-ups or sample components can be valuable when the design relies on an unusual or highly visible detail.
Possible samples include:
- A finished door or drawer front
- A handleless profile
- A curved panel section
- A timber grain arrangement
- A feature edge
- A shadow-line junction
- A lighting channel
- A metal or stone interface
Testing a detail before full production allows the designer and joiner to assess its appearance, feel and practicality. It can also identify conflicts that are difficult to understand from drawings alone.
A handleless door, for example, may look correct in elevation but feel uncomfortable when opened. A sample can reveal whether the finger clearance, edge shape and door projection work as intended.
This targeted testing protects the details that give the cabinetry its identity.
Stage Six: Custom Cabinetry Manufacturing
After approval, the project moves into custom cabinetry manufacturing.
The approved information should form a coordinated production package. This may include shop drawings, material codes, hardware schedules, finish samples and installation notes.
During manufacturing, components are cut, edged, machined, assembled or prepared according to the approved documentation. Modern machinery can support repeatable dimensions, but accuracy still depends on correct information, careful setup and ongoing quality checks.
Quality control may include checking:
- Component dimensions
- Drilling and machining positions
- Edge-banding consistency
- Grain direction
- Door and drawer alignment
- Finish quality
- Hardware operation
- Part labelling
- Completeness before dispatch
- Consistency with approved samples
The production team must also understand which details are visually critical. A small dimensional variation hidden inside a cabinet may not be noticeable, while the same variation across a bank of handleless doors could disrupt the entire composition.
Good custom cabinetry manufacturing combines precise production with an understanding of the designer’s priorities.
Stage Seven: Planning Delivery and Installation
Installation should be considered during design and manufacturing, not after the cabinetry is complete.
Large cabinetry may need to be divided into transportable sections. Access through doors, lifts, corridors and staircases must be checked. The installer also needs suitable fixing points and enough space to position components safely.
Before delivery, the site should be assessed for readiness. Relevant questions include:
- Are floors and wall finishes complete?
- Are services in the approved locations?
- Is the area clean and accessible?
- Can cabinetry be stored safely?
- Have appliances and adjoining materials arrived?
- Are other trades still working in the installation zone?
- Is protection required for finished floors and walls?
Poor sequencing can damage finished cabinetry or create unnecessary return visits. Clear communication between the builder, designer, joiner and installer helps prevent these problems.
Stage Seven: Planning Delivery and Installation
Professional custom joinery installation Melbourne turns accurately manufactured components into a finished architectural element.
During installation, cabinetry is positioned, levelled, fixed and adjusted to suit the actual building. Scribe panels, fillers and finishing pieces allow the joinery to meet surrounding surfaces cleanly.
The installer may also coordinate:
- Final door and drawer alignment
- Hardware adjustment
- Appliance positioning
- Lighting integration
- Service access
- Stone or benchtop interfaces
- Silicone or finishing work where specified
- Removal of protective films
- Final cleaning and inspection
Installation is also the moment when the relationship between the cabinetry and the room becomes fully visible. Door proportions, shadow lines and grain direction should read as one coordinated composition.
If site conditions have changed since measurement, the project team should assess the issue before making a visible alteration. An unapproved site solution may solve a fixing problem while weakening the original design.
The Approval Gates That Protect the Interior Concept
The designer joinery journey works best when approval is divided into clear gates:
Concept approval
The overall form, storage purpose and visual direction are agreed.
Dimensional approval
The cabinetry is coordinated with verified site measurements, appliances and services.
Material approval
Surfaces, colours, textures, edges and hardware are confirmed using identifiable samples or product codes.
Technical approval
Shop drawings and critical construction details are reviewed before manufacturing.
Installation approval
The completed work is inspected for alignment, finish, operation and consistency with the approved documents.
These gates create an organised record of decisions. They also help distinguish genuine design changes from corrections or site adjustments.
Common Reasons a Moodboard Loses Its Character
A strong concept can become diluted if decisions are made separately or too late. Common causes include:
- Selecting finishes from digital images alone
- Involving the joiner after dimensions and details are locked
- Failing to identify the non-negotiable design elements
- Changing hardware without checking its visual effect
- Leaving handleless profiles unresolved
- Approving materials without checking adjacent finishes
- Manufacturing before shop drawings are fully reviewed
- Ignoring access and installation constraints
- Allowing unrecorded changes during production
- Resolving visible junctions only after cabinetry reaches the site
Bringing Your Design to Life with Sagar Cabinets
Frequently Asked Questions
Can a joiner manufacture cabinetry from a moodboard?
- A moodboard can provide the initial visual direction, but it usually does not contain enough technical information for manufacturing. The joiner will also need dimensions, functional requirements, material selections and approved shop drawings. A moodboard is most effective when supported by sketches, plans and a clear design brief.
How are cabinetry finishes matched to an interior design?
- Cabinetry finishes are matched by reviewing physical samples alongside surrounding materials such as flooring, paint, stone, tile and metalwork. The designer and joiner should confirm colour, texture, sheen, grain direction and edge treatment. An approved control sample can be retained as a reference.
How does a joiner turn a sketch into finished cabinetry?
- The joiner interprets the sketch, confirms the intended function, measures the site and develops technical shop drawings. Materials, finishes, hardware and construction details are then approved before manufacturing. The completed components are delivered, installed and adjusted on site.
What happens between joinery design and installation?
- Between design and installation, the project normally goes through site verification, material selection, shop drawing development, technical coordination, approvals, manufacturing, quality checks and delivery planning. Each stage helps confirm that the finished cabinetry will fit the space and reflect the approved concept.
How can custom cabinetry integrate seamlessly into a room?
- Seamless integration depends on accurate measurements, coordinated materials, carefully planned junctions and consistent proportions. Services, appliances, lighting and surrounding finishes should be considered early. Scribes, fillers and shadow lines can then be designed as intentional details rather than last-minute corrections.
Turn Your Moodboard into Manufactured Joinery
If you are an interior designer with a moodboard, sketch or developed cabinetry concept, Sagar Cabinets can help translate it into a practical manufacturing package and finished installation.
Contact Sagar Cabinets to discuss your designer joinery requirements.
Address: 28 Rhur Street, Dandenong South VIC 3175
Phone: 0451 508 110
Email: info@sagarcabinets.com.au